Smart thermostat installation: DIY vs professional metrics
You have the box in your hand. The ecobee, the Nest Learning, or one of the budget units from Honeywell or Sensi that promises the same scheduling. The compatibility checker passed your wiring labels this morning.
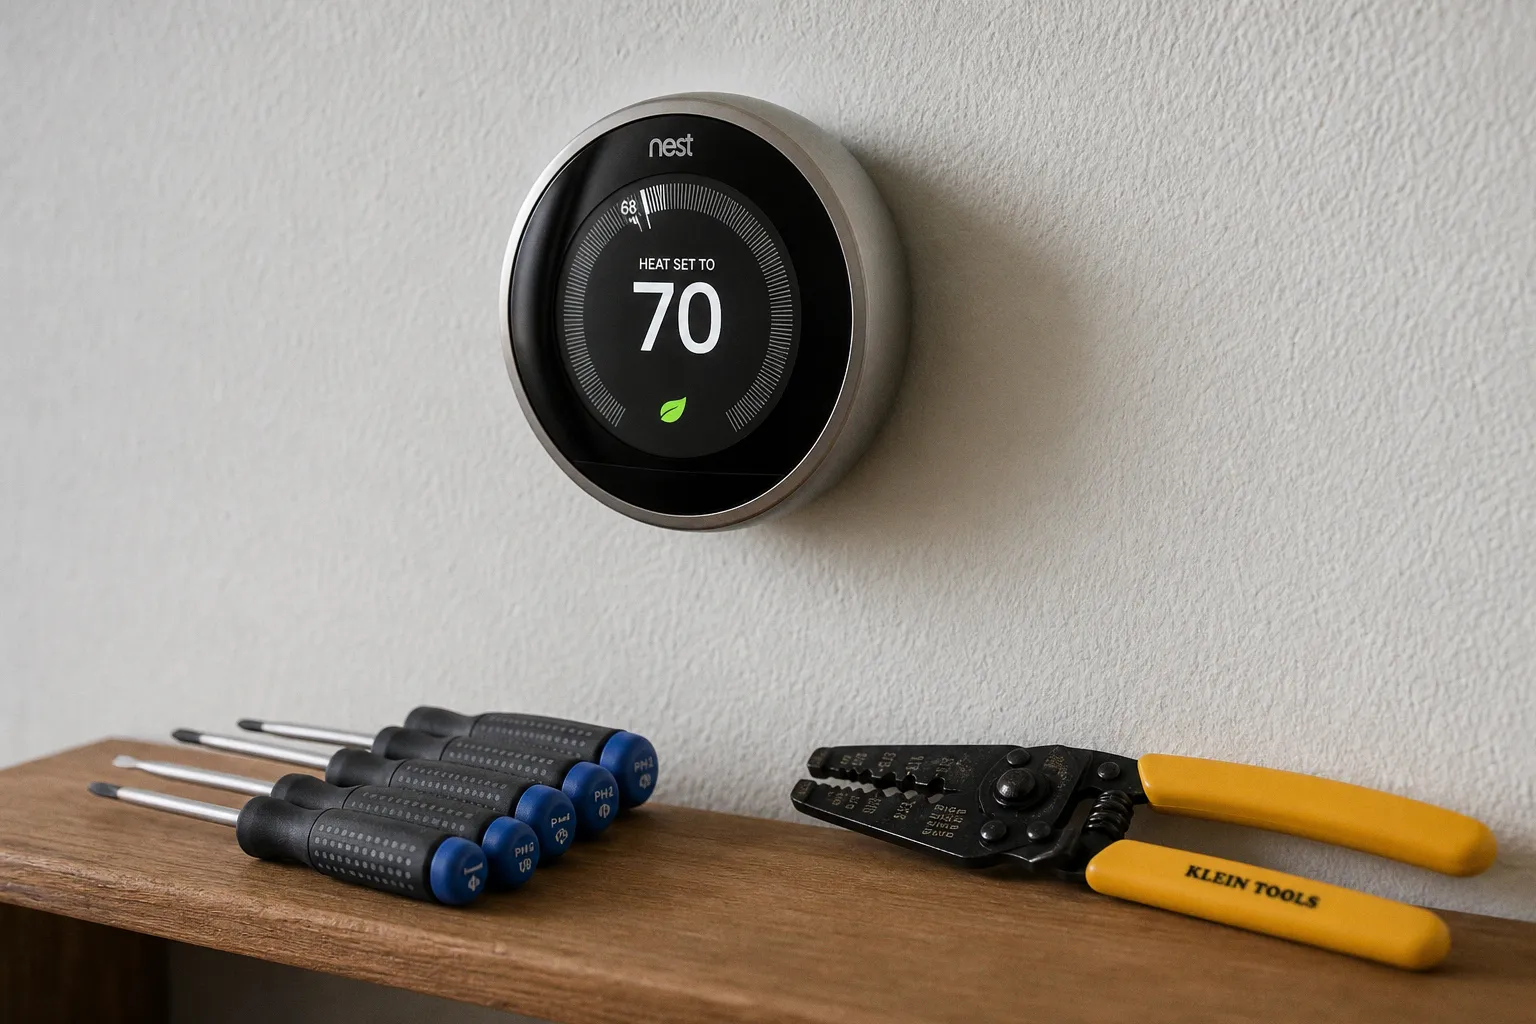
This guide maps the decision matrix that determines whether you install it yourself, hire a professional installer, or — for a small but significant slice of homes — abort the project entirely and call an HVAC technician first. We will work through C-wire detection, voltage hazards, multi-stage complexity, real cost ranges, and the time and skill commitment a genuine DIY attempt demands. Every recommendation rests on the assumption that you can identify what is currently mounted on your wall and what type of HVAC system sits in your basement, attic, or closet.
The cost question answers itself in ten minutes once you photograph the wiring. The safety question can take considerably longer — and skipping it is not an option.
Decoding HVAC Compatibility and the C-Wire Requirement
Pull the faceplate off your existing thermostat. You are looking at a terminal block with lettered screw terminals. Standard HVAC wiring uses five labels: R (red, 24V power supply), W (white, heat call), Y (yellow, cooling call), G (green, fan call), and C (blue or sometimes brown, common return). This letter set is the first fact you confirm, because every modern Wi-Fi thermostat depends on at minimum R, W, Y, G, and C functioning as a continuous 24V circuit.
The C-wire — common wire — provides a return path for the 24V power that runs the Wi-Fi radio, the touchscreen, and the occupancy sensors. Without it, the thermostat must draw parasitic current through the other control wires, which most furnaces tolerate but some explicitly warn against. Ecobee ships a Power Extender Kit (PEK) that simulates the C-wire function by drawing a small current across the heating and cooling circuits, sidestepping the need for a physical fifth wire. Nest thermostats use power sharing — a technique that briefly energizes the heating circuit to top off the internal lithium battery. It is functional but can produce audible clicking on some relays and will not work cleanly on systems with solid-state relays.
Before you order the thermostat, you will need:
- A clear photograph of the current wiring with each terminal letter legible
- The model number stamped on the indoor unit (furnace, air handler, or heat pump)
- Knowledge of the system type: conventional gas, heat pump, dual fuel, or boiler
- A count of how many wires enter the wall cavity from behind the thermostat
The manufacturer compatibility checkers require this data and refuse to give a green light without it. They reject roughly a quarter of users at the input stage — typically homes built before 2002 where a C-wire was never run, or systems using proprietary protocols that piggyback additional signals on the standard wires. Carrier Infinity, Lennox iComfort, and certain Mitsubishi mini-split interfaces fall into this category. If your system uses one of these proprietary protocols, a standard smart thermostat will not communicate with the indoor unit and the project requires an adapter or a different product line entirely.
If you have no C-wire and no path to install one, two practical bypass routes exist. First, we can install the PEK at the furnace control board by connecting four wires to the thermostat-side terminals — a fifteen-minute job that requires the furnace cover removed and the board exposed. Second, a third-party C-wire adapter such as the Venstar Add-A-Wire delivers a similar solution, with the trade-off that it draws continuous current and may produce a faint buzz on some systems. Both approaches avoid running a new wire through closed walls. Neither one voids warranty coverage on the thermostat itself, though the cleanest installation path remains a dedicated C-wire run.
Identifying High-Voltage Hazards in Older Home Systems
The second fact, and the one with direct safety consequences, is system voltage. North American HVAC architecture splits into two distinct categories. Low-voltage systems run on a 24V transformer installed inside the furnace or air handler, and every smart thermostat on the consumer market assumes this architecture. Line-voltage systems operate at 120V or 240V directly from the household breaker panel and drive electric baseboard heaters, wall-mounted convection units, and some older fan coil units without an intervening transformer.
The visual difference is immediate. A low-voltage thermostat has thin-gauge wires (18 AWG or smaller) in a multi-conductor cable, often bundled in a brown or beige jacket. A line-voltage thermostat has thick wires (10 AWG to 14 AWG) entering a box rated for line voltage, often with a substantial cover plate and no terminal letters — instead, the wires connect to screw lugs or wire nuts inside the box.
A 24V thermostat on a 240V line does not merely fail. It fails destructively, and the arcing can ignite the wall cavity before the breaker trips.
The installation path for line-voltage systems requires either a manufacturer-approved adapter (limited availability — only Mysa, Sinopé, and a few others build for this category) or a relay/contactor solution wired by an electrician. Standard Nest, ecobee, Honeywell, and Sensi products cannot be adapted without additional hardware. We do not recommend attempting to step down 240V with hardware-store resistors or third-party transformer modules — the safety failure modes are not recoverable by a thermostat warranty claim, and homeowners insurance may exclude coverage for electrical work performed without permits.
If you identify line-voltage wiring at the thermostat location, your project shifts categories entirely. The smart thermostat installation becomes an electrical retrofit. You will need either an electrician for the wiring plus the thermostat for the smart controls, or a line-voltage-specific product such as the Mysa Smart Thermostat for Electric Baseboard Heat, which is rated for 120V/240V direct connection. The cost profile of this path is materially higher and falls outside the $100–$300 professional installation range typical for low-voltage swaps.
Complexity Metrics for Multi-Stage Heating and Cooling
Single-stage systems use one heating stage and one cooling stage. Multi-stage systems add capacity modulation, which improves comfort but compounds the wiring requirements. A two-stage furnace uses W1 and W2 — two heat call wires. A two-stage cooling system uses Y1 and Y2. Heat pumps add an O wire for the reversing valve, a wire for auxiliary heat (often labeled AUX or W2 in heat-pump configurations), and sometimes an E wire for emergency heat.
Every additional stage multiplies the installation difficulty, not linearly but in compounded steps. A single-stage conventional system has five wires. A dual-fuel heat pump with two-stage cooling and auxiliary heat can require eight or more wires, plus the C-wire, plus a wiring harness at the air handler that may need reconfiguring to expose the common terminal. The DIY time investment scales accordingly:
| System Type | Wire Count (typical) | DIY Time | Skill Threshold |
|---|---|---|---|
| Conventional, single-stage, C-wire | 5 | 30 min | Basic |
| Conventional, single-stage, no C-wire | 4 | 60 min | Intermediate |
| Heat pump, single-stage, C-wire | 6 | 45 min | Intermediate |
| Heat pump, multi-stage, no C-wire | 7–8 | 90–120 min | Advanced |
| Multi-stage conventional with accessories | 8+ | 90–150 min | Advanced |
These estimates reflect an installer at the intermediate level — comfortable with a multimeter, able to identify the control board terminals, and not requiring instructions for wire-stripping or terminal-block tightening. A first-time installer should add 50 percent to each figure.
We do not recommend DIY installation for the bottom two rows of this table, regardless of cost considerations. The error rate on multi-stage wiring mistakes — particularly the confusion between O and B reversing valve polarity on heat pumps — produces system behaviors that look like thermostat firmware bugs but are wiring faults. Troubleshooting those faults costs more in technician time than a clean professional installation would have.
Evaluating the True Cost of Professional Setup Services
Professional installation costs fall into three tiers. The first tier covers low-voltage swaps on single-stage systems with C-wire present — the typical Nest-to-Nest upgrade scenario. HVAC contractors and electricians in this category charge between $100 and $150, with the floor occupied by technicians who treat the visit as a one-hour service call and the ceiling set by markets with elevated labor rates. The second tier covers C-wire installation or PEK wiring on otherwise compatible systems. Costs here range from $150 to $200, reflecting the additional time at the furnace control board and the cost of the PEK kit if the contractor supplies it. The third tier covers complex multi-stage systems, heat pumps without C-wire, or installations requiring additional components such as a wire run through closed walls. Costs run $200 to $300, with the upper end found in high-cost-of-living markets where labor rates and trip charges stack against the homeowner.
These figures exclude the thermostat itself, which ranges from approximately $130 for entry-level Honeywell and Sensi units to $280 for ecobee Premium and $280 for Nest Learning (third generation, where still available). Bundled installation at retailers such as Home Depot and Lowe's occasionally includes a fixed price of $99–$149 for the install portion when the unit is purchased in-store. Verify this in writing before scheduling, because the price floor often applies only to specific thermostat models and excludes C-wire work.
What does professional installation deliver that DIY cannot match? The warranty position is the most concrete answer. Most HVAC contractors warranty their wiring work for one year and assume liability for system damage caused by installation errors. If a contractor crosses a wire and burns out a furnace control board, the repair cost — typically $400 to $800 — falls on their insurance, not yours. A self-installed thermostat that takes out a furnace control board is a consumer-grade warranty claim, which the manufacturer will deny if the installation manual was not followed precisely.
Professionals also bring diagnostic context. An installer who has seen two thousand furnaces will recognize a failing control board relay by sound during a thermostat swap and will flag it before you spend $400 on a smart device that cannot fix the underlying issue. The DIY path leaves you trusting only your own knowledge of the equipment — and there is no shame in acknowledging that your knowledge is shorter than a technician's by several years and several hundred installations.
Time Investment and Technical Hurdles for DIY Enthusiasts
The advertised thirty-minute install figure is real, but it requires specific conditions: you have a C-wire, you have a single-stage system, the thermostat wires each color-match to a single terminal letter with no exceptions, and your existing thermostat does not have a proprietary jumper configuration that the new device must replicate. Under these conditions, a first-time installer completes the job in 40 to 60 minutes, including label-making for each wire and photographing the original configuration for fallback.
The variables that push install time past sixty minutes:
- No C-wire run (must pull new wire or install PEK)
- Heat pump with reversing valve (must identify O vs B and configure software)
- Multi-stage furnace (must verify each W wire corresponds to the expected stage and configure equipment type in the thermostat)
- Proprietary wiring scheme that does not match standard labels
- Aluminum branch circuit wiring in very old homes — requires special connectors and handling
You will need specific tools for a clean installation. A multimeter with continuity testing — not strictly required for swaps but mandatory if any wire identification is uncertain. A small Phillips and a small flathead screwdriver. A label maker or pre-printed wire labels (the equipment stickers that ship with most smart thermostats suffice). A flashlight or headlamp, because wall cavities behind thermostats are dark. Wire strippers if any wire needs trimming. A drill with a 3/16-inch bit only if new anchors are needed for the new backplate.
We can bypass a missing C-wire using the PEK in fifteen minutes, but only if you are comfortable pulling the furnace cover and working at the control board with the power off. The furnace panel is typically four screws and a lift. The control board terminals are usually labeled. The risk concentration is in the wire connection — a misplaced strand touching an adjacent terminal will short and pop a 3-amp automotive fuse on the board, requiring a $5 replacement but producing real diagnostic confusion if you do not know what you are looking at.
What to Check If It Fails
1. Thermostat displays "no power" or stays blank — verify R and C are seated firmly, check the furnace breaker, confirm the furnace door switch is engaged. Most modern furnaces cut 24V power when the panel is open.
2. Heating works but cooling does not, or vice versa — check Y and W wire positions, confirm they are on the correct terminals with no migration during install.
3. Wi-Fi connects but the device disconnects within 24 hours — check the router channel. Some routers default to channel 13, which the thermostat does not support. Reduce distance between router and device, and check for 2.4 GHz vs 5 GHz band-steering issues.
4. Thermostat displays error codes during HVAC operation — refer to the manufacturer code list before attempting reset. A factory reset clears schedule data and will require complete reconfiguration.
5. Furnace short-cycles after install — the most common cause is a power-sharing conflict on systems where the PEK was not properly grounded, or a thermostat drawing more current than the system was designed to deliver continuously.
Final Recommendation: Mapping Your Specific Situation
The decision matrix reduces to three data points: voltage (24V vs 120V/240V), C-wire presence, and stage count.
- 24V, C-wire present, single-stage — DIY installation is appropriate. The $100–$150 saved on professional labor buys a backup unit or a smart speaker — a real trade.
- 24V, no C-wire, single-stage — DIY installation is possible with the PEK, but expect the work to take ninety minutes and to require furnace-side access. If your furnace is in a difficult location or your breaker panel is unlabeled, pay for professional installation and absorb the $150–$200 cost.
- 24V, multi-stage heat pump — Professional installation is the recommendation. The error cost on miswired multi-stage systems exceeds the installation savings, and the diagnostic context a technician brings prevents warranty denials.
- Line-voltage (120V/240V) — A different product category entirely. The decision is not DIY vs professional but thermostat-model selection — install a line-voltage-rated product using an electrician if you are not comfortable with electrical work.
Long-term, the maintenance burden on a correctly installed smart thermostat is minimal. Firmware updates happen automatically on Nest, ecobee, Sensi, and Honeywell Home platforms. Sensor batteries, where applicable, require replacement every 12 to 18 months. The HVAC system itself benefits from a yearly furnace inspection and filter change, independent of the smart thermostat — and skipping those tasks will produce the very erratic cycling the smart thermostat is wrongly blamed for.
The right read of "DIY vs professional" is that the question is not about saving a hundred dollars. It is about recognizing the boundary between a wiring swap and a system retrofit, and respecting that boundary in advance rather than discovering it through a fried control board or a tripped breaker that will not reset. Most homeowners with a screwdriver, a multimeter, and a photograph of their wiring are fully equipped to handle the common case. The uncommon cases — line-voltage systems, multi-stage heat pumps, proprietary control boards, and pre-2002 wiring without a C-wire — are the ones where the marginal cost of a professional is far smaller than the marginal cost of a mistake, and where the decision stops being a question of money and becomes a question of judgment.