Smart thermostat installation cost: 6 factors affecting price
You are staring at a quote for a smart thermostat installation, and the figure does not match what the marketing page promised. The hardware itself looks cheap. The labor line is what surprises you.
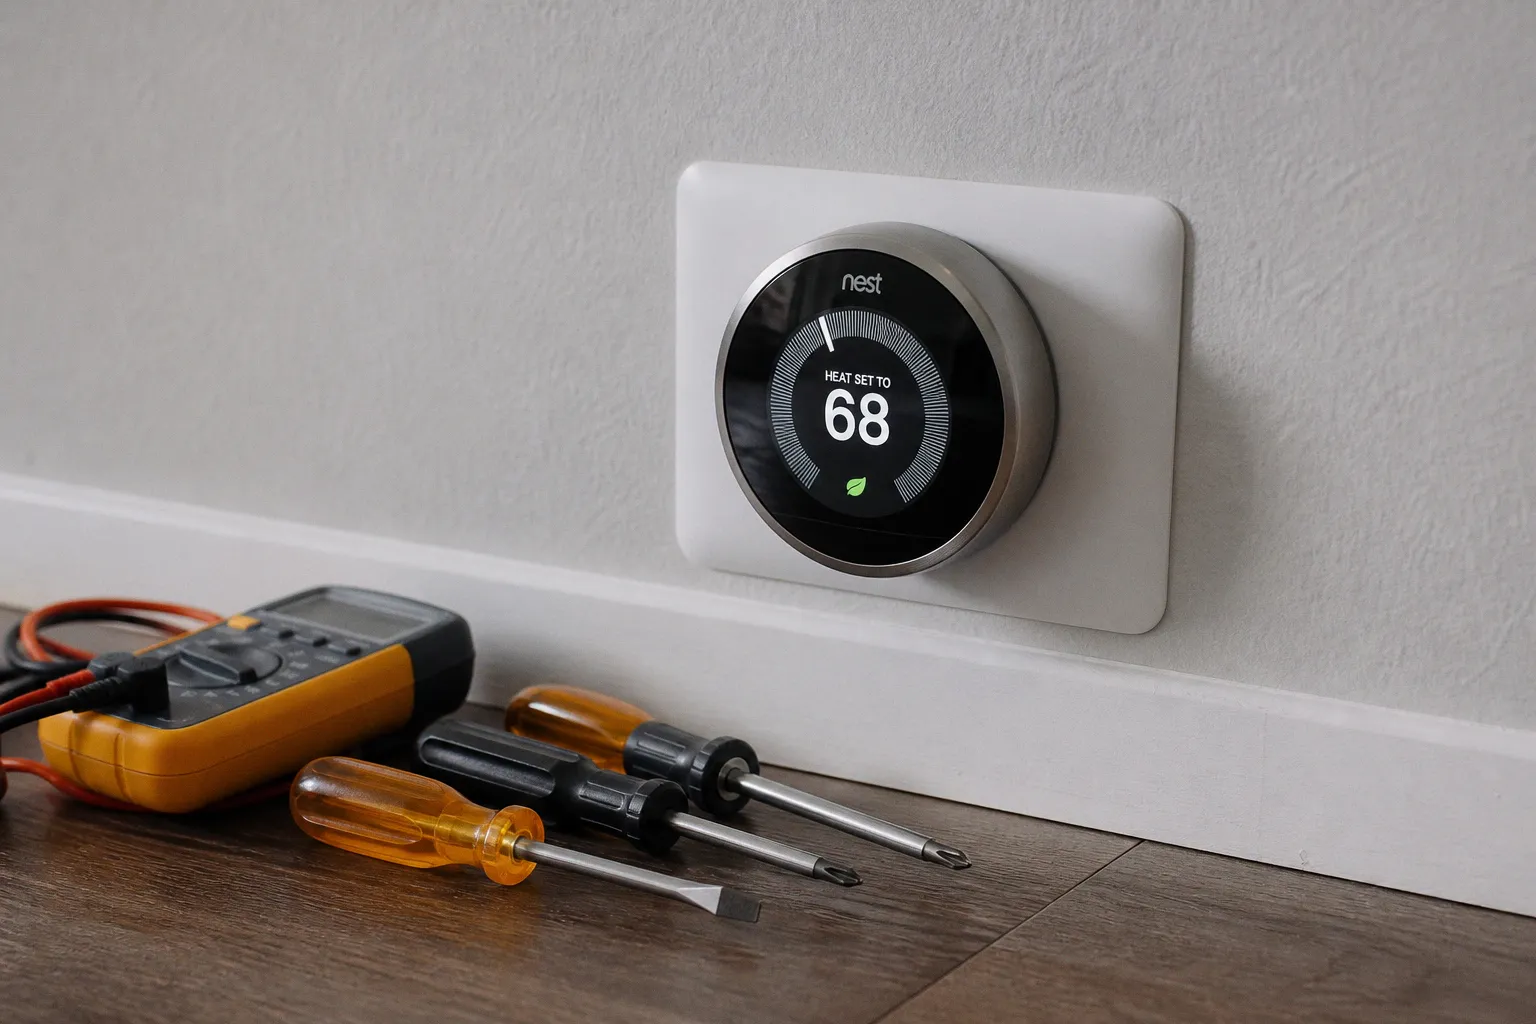
The number on the invoice, and what controls it
That gap between device price and final bill is not a mistake — it is the predictable result of six variables that contractors, retailers, and utility-program websites all quietly apply.
You will see a typical total of $200–$500 for a professional smart thermostat install, with an average around $350 and a broader observed range of $175–$1,000 depending on wiring, hardware tier, and installer type. Those numbers come from contractor cost guides, not from a manufacturer. The device alone — separate from installation — usually sits between $50 and $300 for mainstream ENERGY STAR-listed models, and can climb to $800 for premium units with displays, sensors, and learning algorithms bundled in.
This is what we need to map before you sign anything: which of the six factors is moving the price in your specific case, and which ones do not apply.
1. The baseline: Understanding professional labor and hardware pricing
Start with the device. The thermostat is the only line item most people actually compare. It is also the easiest line to read wrong, because the same model can be sold at three different prices depending on retailer, bundle, and rebate status.
| Tier | Typical device price | What you get |
|---|---|---|
| Entry smart (ENERGY STAR baseline) | $50–$150 | Scheduling, app control, basic sensors |
| Mid-range learning thermostat | $200–$300 | Occupancy learning, geofencing, voice assistant integration |
| Premium with display and ecosystem lock-in | $400–$800 | Larger screen, multi-zone awareness, full HVAC analytics |
A $300 thermostat with a $150 install is not the same job as a $700 thermostat with a $150 install. The wiring work is identical; what changes is what the device brings to the table once powered on.
The labor floor sits underneath the hardware, and it is the harder number to estimate. HVAC technician rates run $50–$150 per hour; licensed electrician rates run $50–$125 per hour. A simple swap of an existing thermostat on a low-voltage system takes about 30 minutes. A full retrofit with new mounting plate, trim, and wire fishing can push past two hours. You are not paying for the device; you are paying for the technician's time, his truck roll, and his insurance.
What to check if this estimate fails: ask the contractor whether the quote bundles the device or bills it separately. Some quotes roll hardware into labor; some break it out. The number that matters for comparison is the installed total, not the unit price. The $350 figure circulating in cost guides is an average across jobs of varying complexity — it is not a quote.
2. Wiring hurdles: Why the C-wire requirement shifts the budget
The single most common reason an install quote climbs above the average is the absence of a common wire — the C-wire — that delivers continuous 24V power to the thermostat.
Most smart thermostats require constant power to drive their Wi-Fi radios, displays, and onboard sensors. Older HVAC systems often lack a C-wire because the previous thermostat was a passive mechanical unit that did not need one. Pulling a new wire through the wall, or fishing it from the air handler, is the cleanest fix. That work runs an additional $50–$100 per hour on top of the standard install, and it adds at least one to two hours to a typical job.
If pulling a new wire is impractical — closed walls, finished basement ceilings, no access to the air handler — the contractor will propose one of three alternatives: a C-wire adapter kit supplied by the manufacturer (some vendors bundle these at no extra cost), a third-party power adapter, or a thermostat model that does not require a C-wire at all. The latter category is narrow but it exists, and it is the cheapest path if your HVAC system is otherwise compatible.
The C-wire is not universal. Treat any installer who claims "all smart thermostats need a C-wire" as a red flag — they are selling the worst-case scenario to inflate the labor line.
What to check if the C-wire step fails: look at the bundle of low-voltage wires behind your existing thermostat. If you see five or more colored wires, you likely already have a C-wire or an unused conductor that can be repurposed at the air handler end. If you see three or four wires and none is labeled C, plan for additional cost or for a model that explicitly does not require constant power. Photograph the wire bundle before the technician arrives; it saves diagnostic time and removes the room for disagreement about what was there at the start of the job.
3. HVAC system complexity and zoning as primary cost drivers
This is the factor that determines whether a 30-minute install or a four-hour specialist visit is on the table.
The reference voltage for U.S. residential HVAC control circuits is 24V. This is the low-voltage category every mainstream smart thermostat is designed for. There is a separate category — 120V and 240V line-voltage systems — that powers electric baseboard heaters, wall heaters, and some legacy furnaces directly. Most smart thermostats, including the Nest line, must not be wired to line-voltage circuits. Doing so will damage the device and creates a fire risk. If your home runs on line-voltage heating, the smart-thermostat upgrade path may require a different product category entirely or no compatible product at all.
Compatibility extends beyond voltage. The following HVAC configurations will likely require a professional install of a thermostat specifically rated for them:
- Multi-stage heating or cooling (two-stage furnaces, two-stage AC compressors)
- Variable-speed blower systems
- Zoned HVAC with multiple dampers and separate thermostats per zone
- Heat pumps with auxiliary heat strips
- Dual-fuel systems (heat pump plus gas furnace)
For these configurations, the contractor is not just swapping a device; they are configuring dip switches, jumpers, or software settings to match the system's control logic. That work is billable. Most smart thermostats in the U.S. are not compatible with baseboard heating, biofuels, or in-wall heaters; oil boilers or furnaces may need an adapter.
If your HVAC system has more than three wires at the indoor unit, more than one thermostat, or any label mentioning "stages" or "variable," plan to pay at the upper end of the labor range, not the average.
What to check if the system check fails: open the panel on your air handler or furnace and look for a model number on the unit itself. Search the model number before scheduling any work. Most manufacturer spec sheets include a list of compatible thermostat categories, and that list will tell you whether a mid-range learning thermostat is appropriate or whether you need a model rated for variable-speed and multi-stage control. The label is usually on the inside of the blower compartment door or on the side of the air handler cabinet — not the front panel that you normally see.
4. The impact of premium features and sensor add-ons
The hardware line on your quote may include optional features that look free in marketing copy but are billed as discrete add-ons. Three common examples:
- Activity or room sensors, typically $40–$100 each, used to detect occupancy in zones the thermostat cannot see directly.
- Voice assistant capability, $50–$100, when the thermostat itself integrates Alexa, Google Assistant, or Siri rather than relying on a separate smart speaker.
- Built-in speaker, $35–$75, for thermostats that double as an intercom, audio source, or notification hub.
These are real features with real utility, but they are not free. If your installer is bundling them into the base price, they have rolled the cost somewhere else — usually into a higher labor rate or a higher device markup.
The decision matrix here is whether the function is already covered by a device you own. If you already run an Echo or HomePod in the same room, paying for voice-assistant capability in the thermostat is duplicate spend. If you already have a mesh of temperature sensors from a different ecosystem, paying $40–$100 per activity sensor is also duplicate spend.
Buy the features you will actually use on the device in front of you. Cross-ecosystem redundancy is the most common source of consumer overspend in smart home budgets.
What to check if the add-on bundle is unclear: request an itemized quote. Each add-on should be a line item, not a bundled surcharge. If the contractor will not itemize, that is a signal to get a second quote.
For context on how audio quality and lag concerns show up across consumer electronics — not just in thermostats — wireless audio latency is an issue that affects gaming earbuds costing players a BGMI tournament as well as voice-assistant responsiveness on smart home hardware. The same engineering considerations around signal timing and buffering apply across these device categories, and they should be on your evaluation checklist whenever audio playback is part of the device's job.
5. Scaling costs for multi-unit and whole-home smart setups
A single thermostat install is the unit case. The math changes once you scale to multiple zones or a whole-home deployment.
| Deployment scale | Typical installed total range |
|---|---|
| One thermostat | $120–$350 |
| Two to three thermostats | $250–$600 |
| Four or more thermostats | $500–$1,200 |
These ranges assume compatible HVAC infrastructure already exists. If you are adding zones to a home that previously ran on a single thermostat, the project scope expands dramatically — new dampers in the ductwork, new control wiring, possibly a new air handler. That is a full HVAC project, not a thermostat upgrade.
For homes that already have a zoned HVAC system with multiple thermostats already installed, the upgrade path is straightforward: replace each existing thermostat with a smart equivalent in sequence. The cost driver is the number of devices, not the complexity of the wiring at each location. The labor per unit is usually lower on the second and third device because the technician has already familiarized himself with your air handler and zone layout.
What to check if you are scaling: confirm that your router and network can handle the additional device count. Each smart thermostat is a persistent Wi-Fi client that polls the cloud. Twenty thermostats on a single consumer-grade router is a real performance problem. If you are scaling beyond four devices, plan a mesh Wi-Fi upgrade as a parallel line item in the budget. The thermostat count is also worth mapping against your utility's demand-response program rules — some programs cap the number of enrolled devices per household.
6. Evaluating DIY feasibility versus professional technician fees
The final factor is whether you pay for professional installation at all.
For a straightforward swap on a compatible low-voltage system with an existing C-wire, a Nest-style install can take 20–30 minutes by following the manufacturer's app-based walkthrough. That is a real number, not marketing fiction. If your existing thermostat is mounted on a standard junction box, your HVAC system is single-stage, your wire bundle includes a C-wire, and you are comfortable with a screwdriver and a phone-based step-by-step guide, DIY is a defensible choice.
Professional installation is usually the right call when:
- The C-wire is missing and you do not want to pull one yourself
- The HVAC system is multi-stage, variable-speed, or zoned — and needs a thermostat specifically rated for that configuration
- The existing wiring is line-voltage (120V or 240V)
- The mounting location requires new drywall work or wire fishing
- Local code or landlord rules require a licensed technician for any HVAC modification
The cost differential between DIY and professional is the entire labor line. On a $350 average installed total, that is roughly $150–$250 of saved cost by going DIY on a compatible system. The trade-off is warranty coverage: many manufacturers restrict the device warranty if installation is not performed by a licensed contractor, and some utility rebates require professional install as a condition of eligibility. Permit and licensing requirements vary by jurisdiction — verify with your local authority before assuming either path.
Do not DIY a line-voltage system, and do not DIY a system you have not identified. The money saved on a 30-minute swap is not worth the risk on a system you cannot fully characterize.
What to check if you are choosing DIY: verify the device warranty terms, verify the rebate eligibility terms if a utility incentive is part of your decision, and verify that your homeowner's insurance does not require licensed work for any modification touching the HVAC control circuit. The cheapest path on paper is not always the cheapest path after a denied warranty claim or a denied rebate check.
Long-term cost control
Once the install is complete, the cost variables shift from one-time to recurring. Three line items to track over the life of the device:
1. Cloud subscription fees. Some manufacturers bundle full feature access into the device price; others charge an annual fee for app control, historical data, or AI-driven scheduling. Read the fine print before purchase.
2. Firmware and security updates. A thermostat that stops receiving updates is a network-connected device on your home Wi-Fi running outdated code. Plan a replacement cycle of five to seven years for any device handling HVAC control.
3. Battery and sensor replacement. Most smart thermostats run on the HVAC's 24V supply, but the remote room sensors often run on coin-cell or AAA batteries with a two-to-three-year replacement cycle.
The install price is the entry fee. The long-term cost is the discipline of keeping firmware current, batteries replaced, and the device within its supported lifespan. Skip the discipline and you will pay it back in HVAC inefficiency, network exposure, or both.
For most households, the right starting point is a $200–$300 mid-range learning thermostat on a compatible low-voltage system with a verified C-wire, professionally installed for a total in the $300–$450 range. Everything above that is a response to a specific complication — a missing wire, a multi-stage system, a multi-zone deployment, or a feature stack you actually need. Everything below that is a DIY job on a system you fully understand.
Map the six factors against your own home before you request a quote. The contractor who walks in and quotes a number without asking about your C-wire, your HVAC stages, or your zone count is the contractor who will quote you again.